First Boot
How to Find Your Pi
Run Advanced IP Scanner on your Windows computer, scan your home network and identify the IP address assigned to your Raspberry Pi.
By the end of this page you will have
- Run Advanced IP Scanner without installing it permanently.
- Scanned your home network.
- Found the Raspberry Pi hostname and IP address.
- Recorded the IP address ready for SSH.
What is an IP address?
An IP address is the local network address your router gives to a device. It normally looks similar to 192.168.1.123. You need this address so your Windows computer knows which device to connect to when you use SSH.
1. Download Advanced IP Scanner
The button below uses the official Advanced IP Scanner website and starts the download automatically.
- On your Windows computer, click the download button below.
- Open the downloaded setup file.
2. Run it without installing it
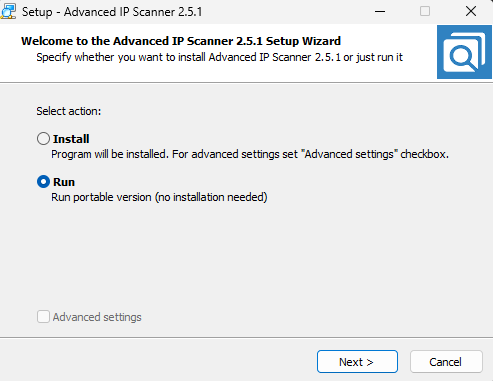
When the setup window opens, select Run. You do not need to install Advanced IP Scanner permanently for this guide.
- Select Run.
- Click Next.
- Allow the program to open if Windows asks for permission.
3. Scan your network
- Make sure the Raspberry Pi has been powered on for at least five minutes.
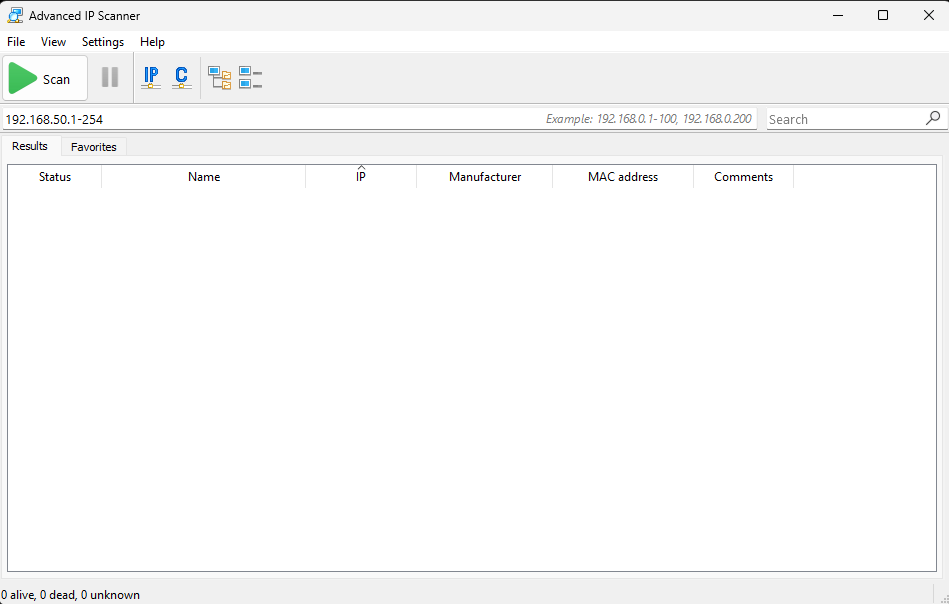
- Check the address range shown near the top of Advanced IP Scanner. It should match your home network.
- Click the green Scan arrow.
- Wait for the scan to complete.
- Look for a device named homeserver if you used the hostname shown in this guide.
- Write down the IP address shown beside it.
How do I know which device is the Pi?
If you followed the hostname used in this guide, look for a device named homeserver. The IP address in the same row is the address you need.
If homeserver is not shown, wait another minute and scan again. You can also turn the Pi off, scan once, turn it back on, wait five minutes and scan again. The new device is likely to be the Raspberry Pi.
Record the address in your Server Details file. You will use it on the next chapter’s SSH page.
How do I know it worked?
You have succeeded when Advanced IP Scanner shows the Raspberry Pi and you have written down its local IP address.